When working with SPFx (SharePoint Framework) solutions, the PropertyFieldFilePicker control allows users to easily browse and select a file from various locations through the property pane. The control supports several options to choose files from, including:
- Recent Files: Allows you to select a file from recently modified files based on your search results.
- Web Search: Uses Bing cognitive services to search for a file. (Note: This option only supports images.)
- OneDrive: Lets you select a file directly from your OneDrive account.
- Site Document Libraries: Enables selection of files from existing site document libraries.
- Upload: Allows you to upload a file from your local drive.
- From a Link: Allows you to paste a link to the document.
Problem Faced:
When using the Upload option, I encountered an issue where after selecting and uploading the file, the PropertyFieldFilePicker control did not generate a URL that could be used in my SPFx code. This made it difficult to reference the uploaded file in my solution.
Solution:
The key to resolving this issue is to first upload the file to the Site Assets folder and generate its absolute URL using SPFX. Here’s how the process work behind the scene:
- Upload the File: From the property pane control, use the Upload tab to select and upload the file.
- Save the File: After uploading the file, click Save.
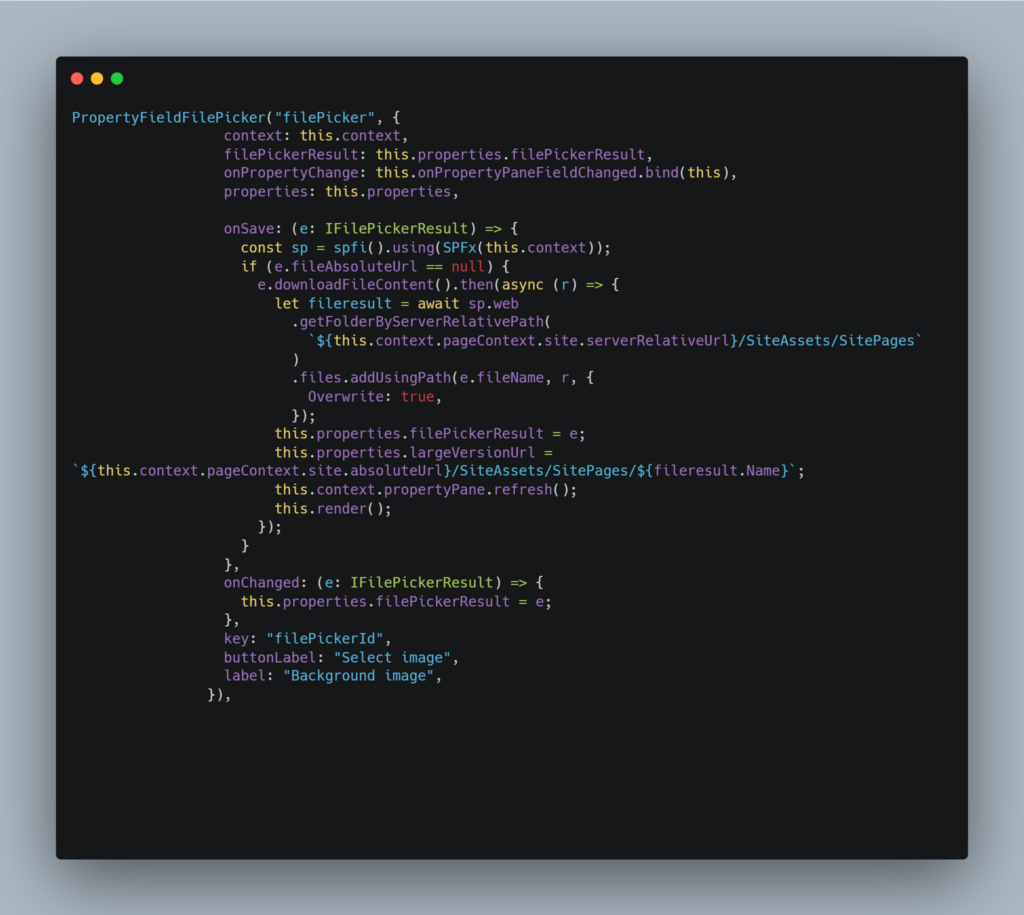
- Get the Absolute URL: File will be uploaded to the Site assets folder via code and once the file is saved, it will automatically generate an absolute URL. You can then use this URL in your SPFx code to reference the uploaded file.
PropertyFieldFilePicker("filePicker", {
                  context: this.context,
                  filePickerResult: this.properties.filePickerResult,
                  onPropertyChange: this.onPropertyPaneFieldChanged.bind(this),
                  properties: this.properties,

                  onSave: (e: IFilePickerResult) => {
                    const sp = spfi().using(SPFx(this.context));
                    if (e.fileAbsoluteUrl == null) {
                      e.downloadFileContent().then(async (r) => {
                        let fileresult = await sp.web
                          .getFolderByServerRelativePath(
                            `${this.context.pageContext.site.serverRelativeUrl}/SiteAssets/SitePages`
                          )
                          .files.addUsingPath(e.fileName, r, {
                            Overwrite: true,
                          });
                        this.properties.filePickerResult = e;
                        this.properties.largeVersionUrl = `${this.context.pageContext.site.absoluteUrl}/SiteAssets/SitePages/${fileresult.Name}`;
                        this.context.propertyPane.refresh();
                        this.render();
                      });
                    }
                  },
                  onChanged: (e: IFilePickerResult) => {
                    this.properties.filePickerResult = e;
                  },
                  key: "filePickerId",
                  buttonLabel: "Select image",
                  label: "Background image",
                }),
Where to add code?
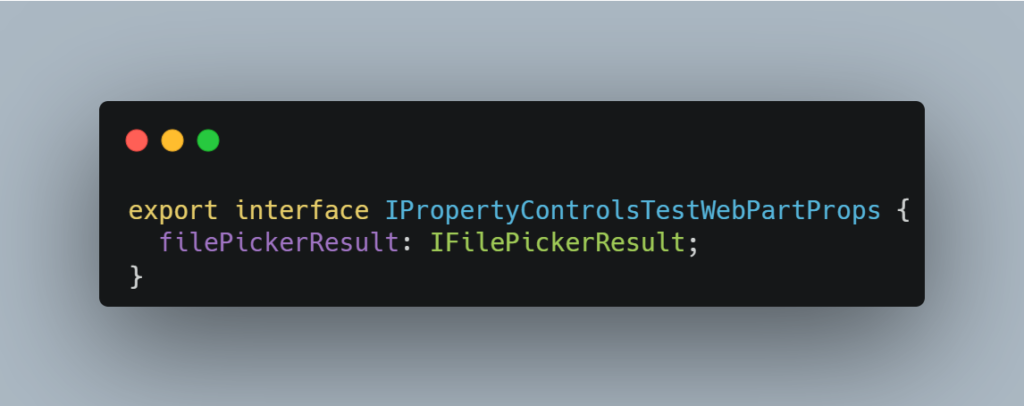
Add below code to your I<YourWebpartName>Props.ts file.

Then, You need to add imports in your main .ts file

and, after this use the code I have provided above in property pane


